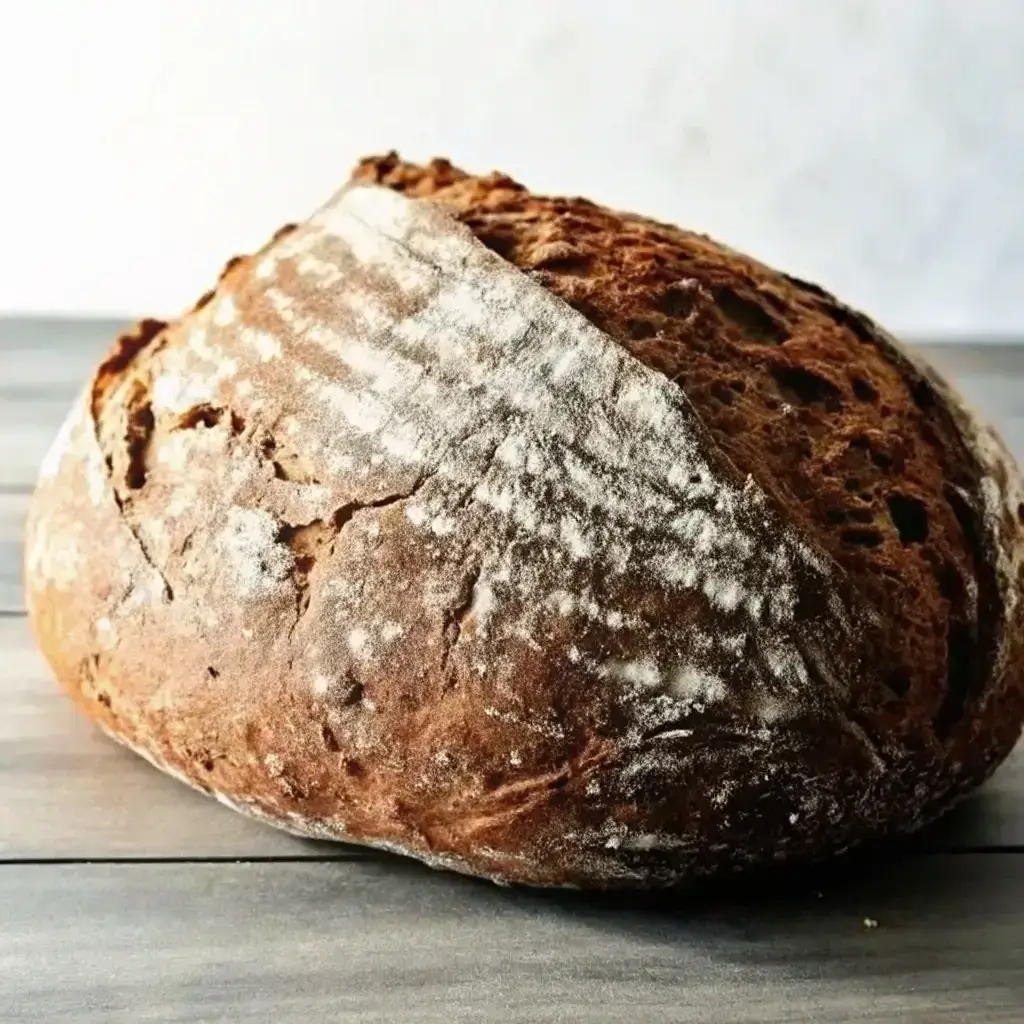
There’s something deeply comforting about the smell of sourdough bread baking in your kitchen. But when you’re gluten-free, recreating that crusty exterior and soft tangy center feels like a challenge. This guide will walk you through exactly how to make gluten free sourdough bread, whether you’re looking for a classic crust or a soft-centered sourdough gluten free bread that’s completely homemade.
Table of Contents

My Gluten-Free Sourdough Story
Why I Had to Learn How to Make Gluten Free Sourdough Bread
Hi, I’m Lisa Hartwell—a 53-year-old home cook from sunny Santa Barbara, California. My journey into sourdough started with desperation. One of my twin boys had digestive issues that turned out to be gluten sensitivity. Saying goodbye to our favorite bakery sourdough was hard—especially for a bread-loving family like ours. But I wasn’t ready to give up that warm, chewy slice slathered in butter.Curious how sourdough compares calorie-wise? Explore our deep dive on calories in sourdough bread to see why it’s not always as heavy as you think—especially when made gluten-free.
I decided to teach myself how to make gluten free sourdough bread. It didn’t happen overnight. The first loaf? Flat. The second? A gummy mess. But with persistence—and more than a few sourdough-starter explosions—I found my rhythm. And let me tell you, biting into that first successful loaf was absolutely rewarding. I knew then that I had created a gluten free sourdough bread recipe that even my kids loved. At first, I kept asking: is sourdough bread gluten free if fermented long enough? I learned that the answer depends on your ingredients.
A Humbling Start, a Happy Result
Learning how to make gluten free sourdough bread reminded me that great cooking isn’t about perfection. It’s about progress. I’ve tested oat flour, sorghum, brown rice blends—you name it. The result? A loaf that holds together, slices clean, and even my picky eaters devour. I’ll share the flours that work (and the ones that flop), plus pro tricks from my own kitchen and from gluten-free
Choosing the Best Ingredients for Gluten-Free Sourdough
Which Gluten-Free Flour Works Best?
When learning how to make gluten free sourdough bread, choosing the right flour blend is everything. If you’re aiming for a loaf that’s crusty outside and soft inside, the flour must pull weight—literally and figuratively.
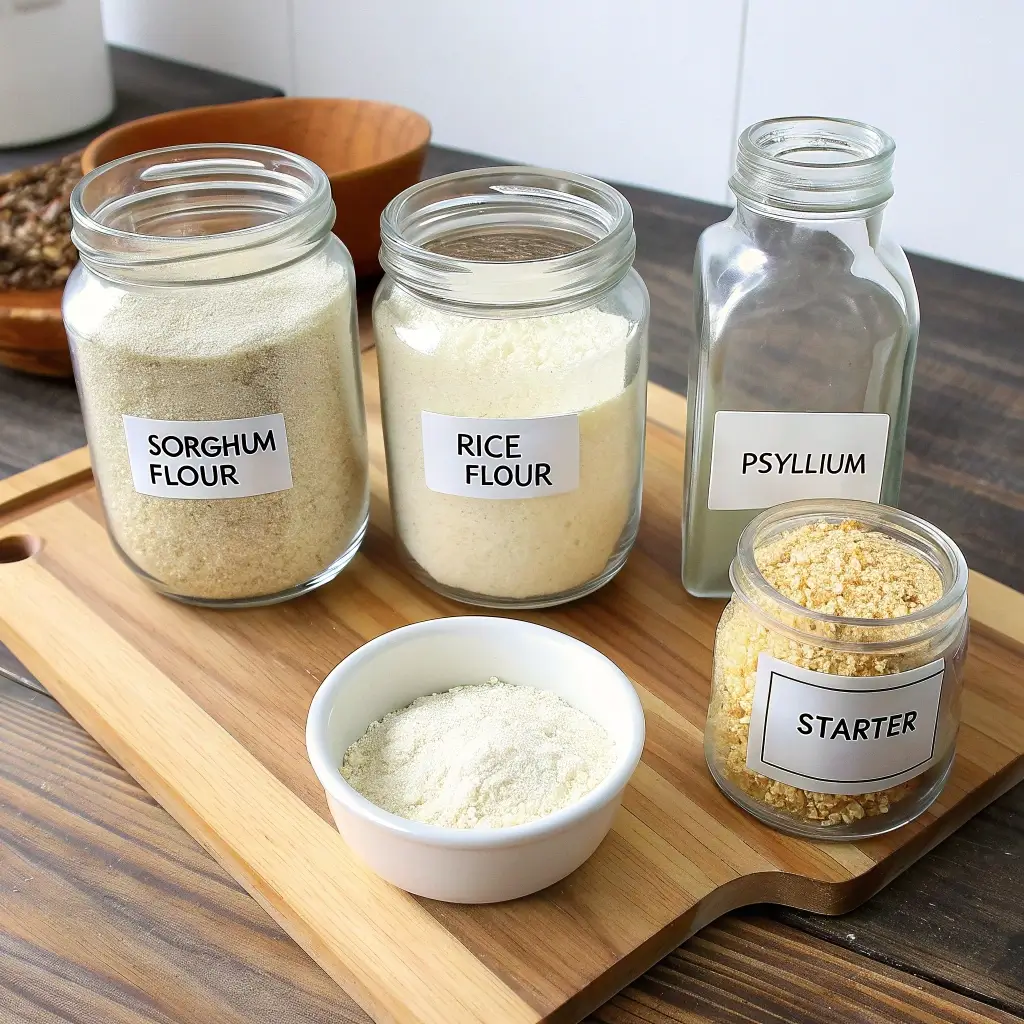
I tested dozens of combinations while figuring out how to make gluten free sourdough bread that didn’t fall flat. The winner? A custom blend: brown rice flour, sorghum, and just the right touch of tapioca or arrowroot starch. These provide structure and lightness. But the real binder here is psyllium husk—it mimics gluten’s stretch and helps trap gas for a nice rise.Looking for a lighter take? Try this low-calorie sourdough bread recipe from our collection—it’s a smart way to enjoy the classic taste with fewer calories.
For beginners, store-bought blends like King Arthur’s You can also study store brands like Schar gluten free sourdough bread to get a feel for flavor and texture before mixing your own
| Ingredient | Purpose |
|---|---|
| Sorghum or Brown Rice Flour (40%) | Adds nutrition, earthy flavor, and structure |
| Tapioca or Potato Starch (30%) | Creates a light crumb and soft interior |
| Psyllium Husk Powder (10%) | Provides structure and gluten-like elasticity |
| White Rice or Millet Flour (20%) | Balances texture and helps browning |

Take notes with each bake. If you’re serious about how to make gluten free sourdough bread that your family will actually love, experimenting with blends is key. Also explore our Gluten-Free Recipe collection for ideas.
Starter Magic: Making or Buying a Gluten-Free Starter
Now let’s talk starters. Your sourdough is only as good as your starter, and this step is vital if you want to master how to make gluten free sourdough bread with the same tang and texture as traditional loaves.
Creating a gluten-free sourdough starter isn’t complicated— If you’re aiming for a gluten free vegan sourdough bread, be sure your starter uses only plant-based ingredients—no dairy or honey it just takes daily attention and a little faith. Mix brown rice or sorghum flour with filtered water and feed it every 24 hours. In about 5 to 7 days, you’ll see bubbles and smell that signature sour tang. That’s when the magic begins.
Don’t want to wait? Buy a dehydrated gluten-free starter from a trusted shop, revive it, and you’re ready to go. But honestly, making it at home connects you to the process. I kept mine alive in a mason jar beside the coffee maker—my daily reminder to nurture the heart of my dough.Want more ways to enjoy your gluten-free starter? Don’t miss our crowd-favorite gluten-free garlic bread, made with the same starter principles for a crispy, buttery side dish.

Gluten-Free Sourdough Bread
Ingredients
Equipment
Method
- In a bowl, mix all flours and starches. In a separate cup, whisk the psyllium husk with water until it gels. Combine everything with the starter and salt to form a thick batter-like dough.
- Let the dough rest (autolyse) for 30 minutes. Then transfer it into a greased bowl or parchment-lined banneton.
- Cover the bowl and allow the dough to rise for 4–6 hours at room temperature or overnight in the fridge. Use the poke test to check readiness—the dough should spring back slowly.
- Preheat a Dutch oven at 450°F (232°C). Score the top of the loaf with a lame or sharp knife.
- Transfer the dough into the hot Dutch oven. Bake covered for 30 minutes, then uncover and bake for 25 minutes until golden and crusty.
- Let the bread cool on a rack for at least 3 hours before slicing to allow the crumb to fully set.
Nutrition
Notes
Tried this recipe?
Let us know how it was!The Full Process—Mixing, Rising, Baking
Key Steps to a Tangy, Textured Loaf
Once your starter’s ready and your flour blend is on point, it’s time to bring everything together. Knowing how to make gluten free sourdough bread involves understanding the timing, texture, and temperature—each plays a major role in how your loaf turns out.
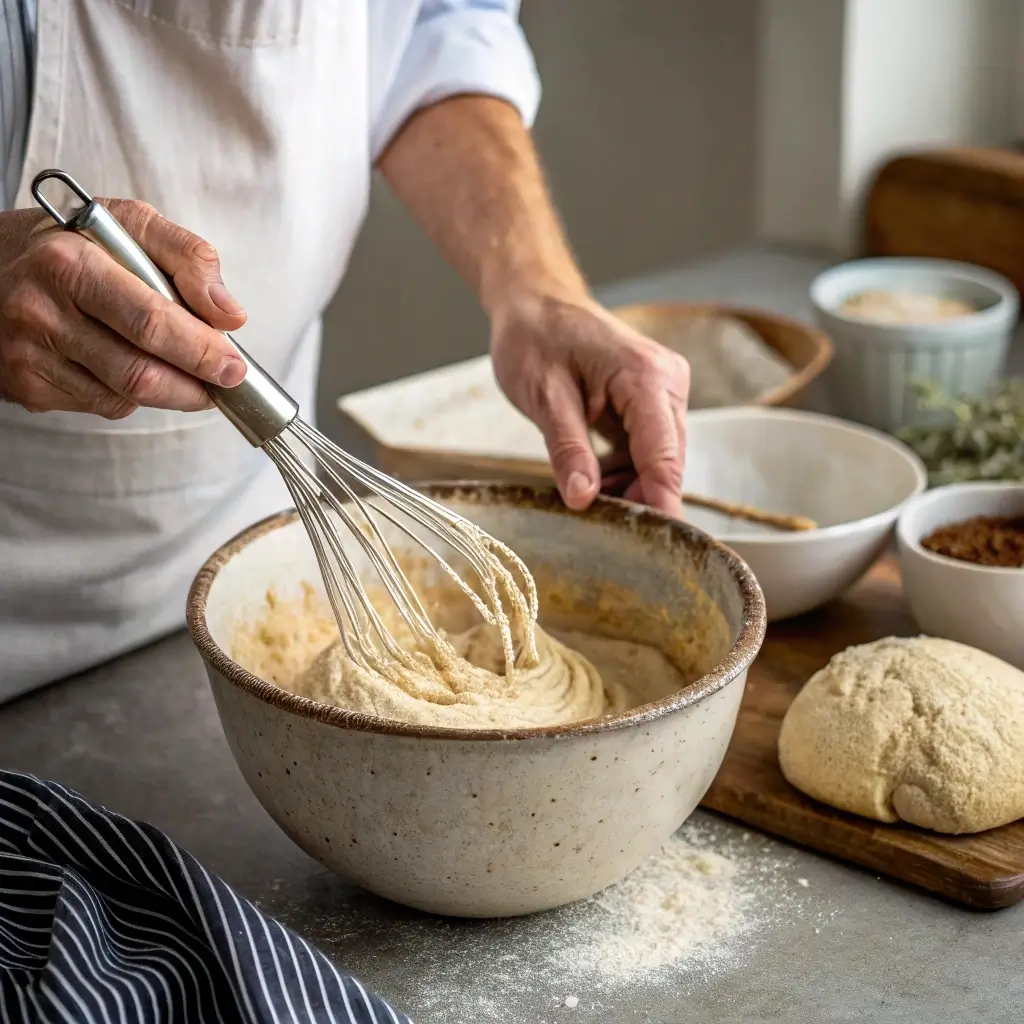
Start by mixing your flours, water, starter, salt, and psyllium husk gel (always hydrate it first). The dough won’t feel like regular sourdough—it’s more like thick cake batter or clay. Don’t panic. That’s normal. I use a Danish dough whisk to keep the mixing smooth and even.

Let the dough rest (autolyse) for 30 minutes. Then give it a final mix and transfer to a greased bowl or banneton lined with parchment. Cover loosely and let it rise for 4–6 hours at room temperature, or overnight in the fridge. A gentle poke test tells you when it’s ready—if the dough springs back slowly, you’re good to go.
Bake it in a preheated Dutch oven at 450°F for 30 minutes covered, then 25 uncovered. The result is a sourdough gluten free bread that looks rustic, smells divine, and satisfies like the original—without the wheat.
Avoiding Common Pitfalls (Dryness, Gummy Crumbs, Flat Rise)
Even when you know how to make gluten free sourdough bread, things can go wrong. A gummy middle means too much moisture or underbaking. Dense loaves often come from inactive starter or not enough rising time. And flat tops? Usually over-proofing.
Here’s what works:
- Don’t skip the psyllium husk—it prevents soggy centers.
- Use an oven thermometer. Most ovens lie.
- Weigh your ingredients. Volume measurements can throw off hydration.
- Stick to the proofing window. Set a timer. Take photos if needed to track progress.
And always let the bread cool for at least 3 hours before slicing. Seriously—it finishes baking from residual heat. Many loaves have flopped because I cut too soon (lesson learned).
Want more troubleshooting? Check out our Gluten-Free Bread Tips for proven fixes from readers and bakers alike.
For more fun variations and ideas, check out our Facebook and Pinterset sections where creativity meets craving.
Tools, Tips & Bread Maker Options
Using a Bread Maker for Gluten-Free Sourdough
So, can you use a bread maker when learning how to make gluten free sourdough bread? Yes—if you understand its limitations. Traditional sourdough requires long fermentation and specific temperature control, which most bread makers can’t do perfectly. But with a little tweaking, you can make it work.
Use the dough cycle to mix and rise the dough. Once it doubles (watch this manually), pause the machine and remove the paddles if possible. Then resume with the “bake only” setting. Skip the punch-down stage—gluten-free dough doesn’t need it.
The final result won’t have the same crust as a Dutch oven loaf, but it’ll be soft, flavorful, and low-effort. For busy days, it’s a solid option. I’ve used this approach with the Zojirushi Virtuoso and had great success. I often compare the results to Schar gluten free bread sourdough to check how close my home loaf comes to store quality.
Want more tech options? Our Equipment Picks include bread makers that support custom cycles for sourdough.
Must-Have Tools for Success at Home
When you’re serious about how to make gluten free sourdough bread that actually rises and tastes good, a few tools make all the difference. Here’s what I always keep on hand:
- Digital scale – Accuracy is everything when working with moisture-sensitive flours.
- Danish dough whisk – Great for mixing sticky batter-style doughs.
- Banneton basket or loaf pan – Helps shape and support the rise.
- Dutch oven – Creates the steam needed for that golden crust.
- Lame or sharp blade – For scoring before baking.
I also use parchment paper to avoid sticking and make transferring dough easier , where I’ve reviewed them in detail.
Don’t let tools intimidate you. The magic of learning how to make gluten free sourdough bread is in the simplicity—just good ingredients, patience, and the right support.
Frequently Asked Questions
Can you make sourdough gluten free bread at home?
Yes, absolutely! Sourdough bread can be made gluten free by using naturally gluten-free flours like brown rice, sorghum, or buckwheat, along with a gluten-free sourdough starter. The fermentation process still develops that signature tangy flavor without needing wheat.
Which gluten free flour is best for sourdough bread?
The best flours for gluten-free sourdough are brown rice, sorghum, millet, and buckwheat. These whole grain flours offer structure and flavor. Combine them with starches like tapioca and binders like psyllium husk for a well-textured loaf. Check our full breakdown in this guide to flour mixing.
What is the trick to making good gluten free bread?
The key trick is hydration and structure. Use psyllium husk to replace gluten, measure by weight for accuracy, and avoid over-proofing. Always let the loaf cool completely before slicing to avoid gumminess. More tricks like these are covered in our baking tips section.
Can I make gluten-free sourdough in a bread maker?
Yes, you can. Use the dough setting for mixing and proofing, then switch to “bake only” to finish. It won’t have the same crust as oven-baked sourdough, but it’s convenient and great for busy home bakers. I’ve had success with it, especially with strong starters.
Conclusion
Learning how to make gluten free sourdough bread at home doesn’t need to be overwhelming. It’s a journey full of discovery—Whether you’re modeling your bake after a Schar gluten free sourdough bread or creating a custom gluten free vegan sourdough bread, this process is fully customizable and rewarding. from finding the perfect flour blend to building a bubbly starter and baking a loaf that’s as satisfying as any bakery version. The first time you slice into your own crusty, chewy, golden-brown loaf, you’ll realize it was all worth it.
Whether you bake in a Dutch oven or a bread machine, whether you’re gluten-free by choice or by need—this process is for you. Trust your starter, embrace the mess, and enjoy every step. Ready to take your baking further? Visit our full Gluten-Free Baking Library and let’s keep rising together.And if you’re watching your nutrition or calories, don’t forget to check out our related guides: Calories in Sourdough Bread, Low-Calorie Sourdough, and Gluten-Free Garlic Bread.
